
Join me for a FREE, Guided Math workshop to discover how to easily incorporate Guided Math into your current schedule!
Like any other procedure in your classroom, guided math is something that takes time to set up and implement. You can’t just decide one day to do math stations and then start them in your classroom and expect them to go perfectly. I recommend spending the first six weeks of school training students on the routines and guided math procedures.
You must talk about expectations, rules, voice levels, how to use materials, and then slowly introduce activities one at a time. It takes patience and practice, but once your students have the routines and procedures down, it is so beneficial.
In part 3 of my guided math series, we will be talking all about establishing procedures to set up the perfect guided math block. You can check out the other parts of this series below.
Part 2: How to Set Up Your Guided Math Schedule
Part 4: Must Have Materials For Math Stations
Part 5: How To Run Differentiated Math Stations
This post contains affiliate links. You can see my disclosure here.
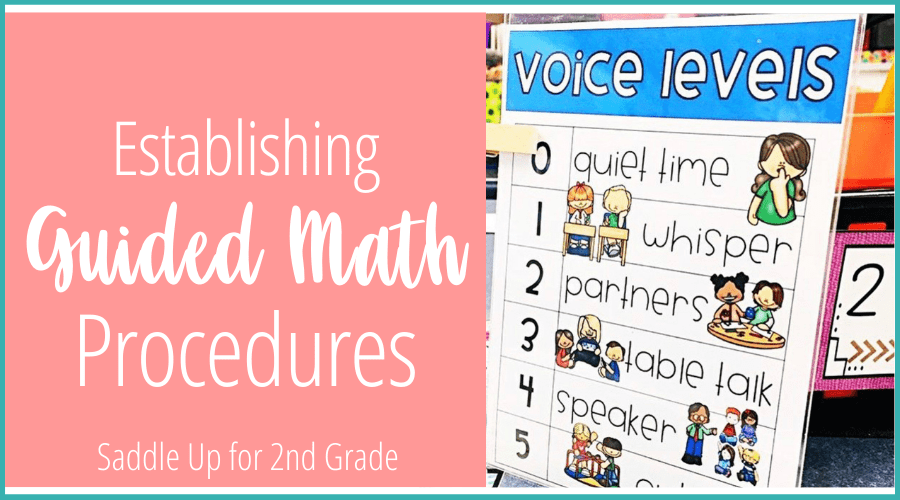
We can’t assume that students know what we want them to do or how to do it, no matter how simple it is. They need to be taught these routines and procedures in order for your math block and math stations to run smoothly. By taking the time to model these and practice them explicitly, you’ll eliminate interruptions so your math block is streamlined.
Before we dive in, here is a picture of my math board. All of the expectations and math procedures are posted here and referred to often so they are all in one common space.
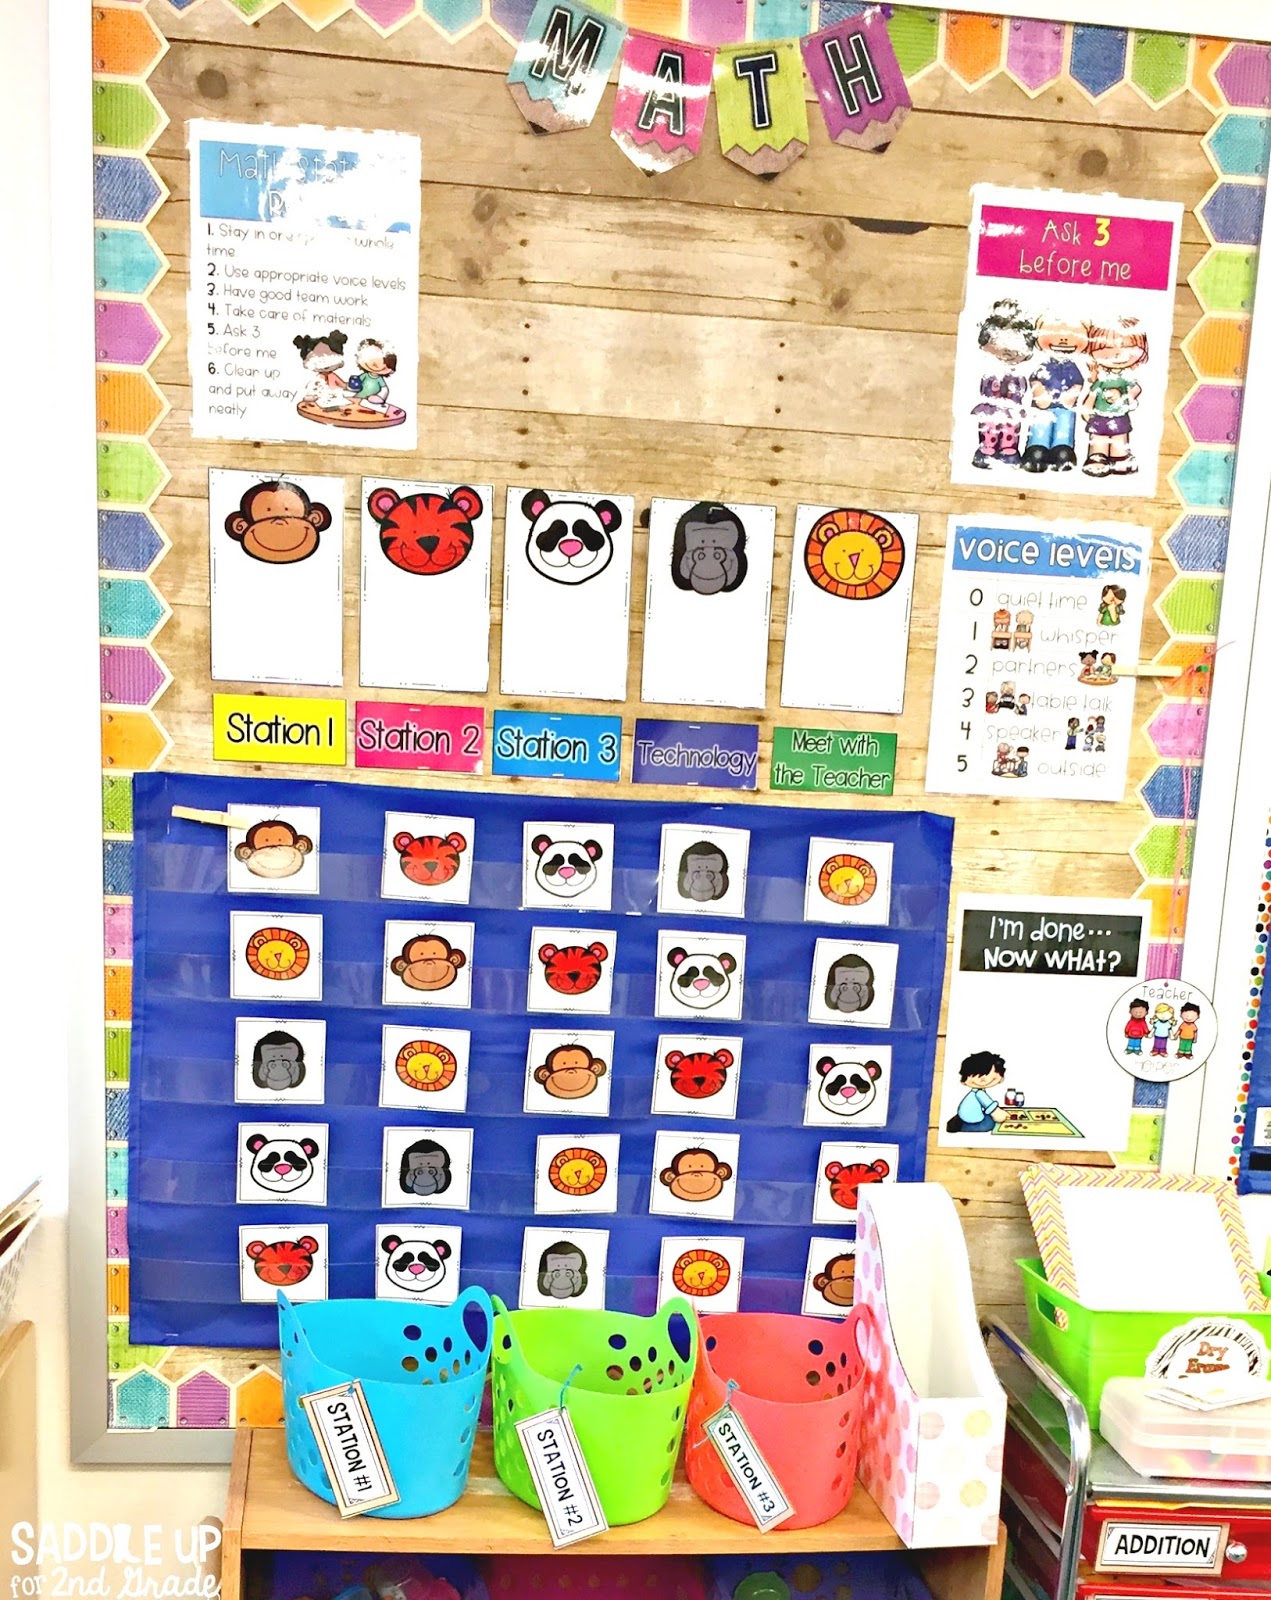
The first math procedure you need to focus on is rules. You need a set of rules in place so that you can implement math station time effectively and efficiently.
I used 6 simple rules in my classroom. I displayed each rule poster on my guided math bulletin board for students to see and refer to often. My 6 rules are:
It’s important to model each rule for students. Show them how to do things correctly and incorrectly so they can see the difference.
You may feel a bit like a drill sergeant at first, but whenever you see someone not following the rules, stop and model the correct and positive behavior. After a few weeks, you’ll find you probably don’t have to stop as often!
The next guided math procedure you’ll want to establish and practice is voice levels. There are 5 different levels for how voices should sound during your math block. They are:
0- No talking (testing, lining up, while others are talking) .
1- Can be heard by someone close to you.
2- Only your partner can hear you.
3- Working with a group of 3-6 people.
4- While speaking (can be heard in the back of the room).
5- During recess or playtime.
I like to display this voice levels poster in a few different places around the room. I display it on my guided math bulletin board as well as at my table groups in 5X7 plastic picture frames from the dollar store.
One student from each group has the job of moving the clothespin up and down to show the voice level they should be using.
During that first week of school, model and practice what each of these levels looks like multiple times throughout our day.
I also introduce the Ask 3 Before Me rule. This is something I use in all subject areas rather than just for math rotations to cut down on interruptions.
Begin by choosing 3 students who are responsible and can answer questions for other students. That way, if a student gets stuck on a question, does not understand something, or needs help in any way, they must ask those 3 other students before they can come ask the teacher.
Another guided math procedure I like to implement is called “I’m done… now what?” This gives students direction on what to do when they finish their work early and are waiting for the next transition.
I don’t allow students to come up to the teacher table while I’m working with a group, so I have this “I’m done… now what?” poster displayed up on our math board so I can write different early finisher activities on it each day.
If they finish their math station activity before it is time to rotate, then they can do the activity that I have written on this sheet. I have mine laminated and use a dry erase marker to change out the activities.
Early finisher activities should be open-ended and low prep. They can be as simple as exploring with manipulatives, such as geoboards, pattern blocks, or linking cubes.
The final guided math procedure I like to implement is a transition signal to get students’ attention. When students hear the sound, they stop, turn and face you, and wait for instructions.
This can be a bell, hand clapper, or my personal favorite, a wireless doorbell. This little thing has over 50 different chimes. You just plug it into an outlet and you are good to go.
Whenever you are transitioning from small groups or other times throughout the day, just ring the doorbell and the kids will know it is time to stop what they are doing and clean up.
To practice, you can bring your students to the carpet and have them turn and talk with partners to practice different voice levels. When they hear the bell ring, they must stop, turn and face you, and put their hands in their lap with their voices off.
As the days go by, you can practice by having them play with manipulatives at their desk. When they hear the bell, they must stop what they are doing and clean up. Lots of practice is key!
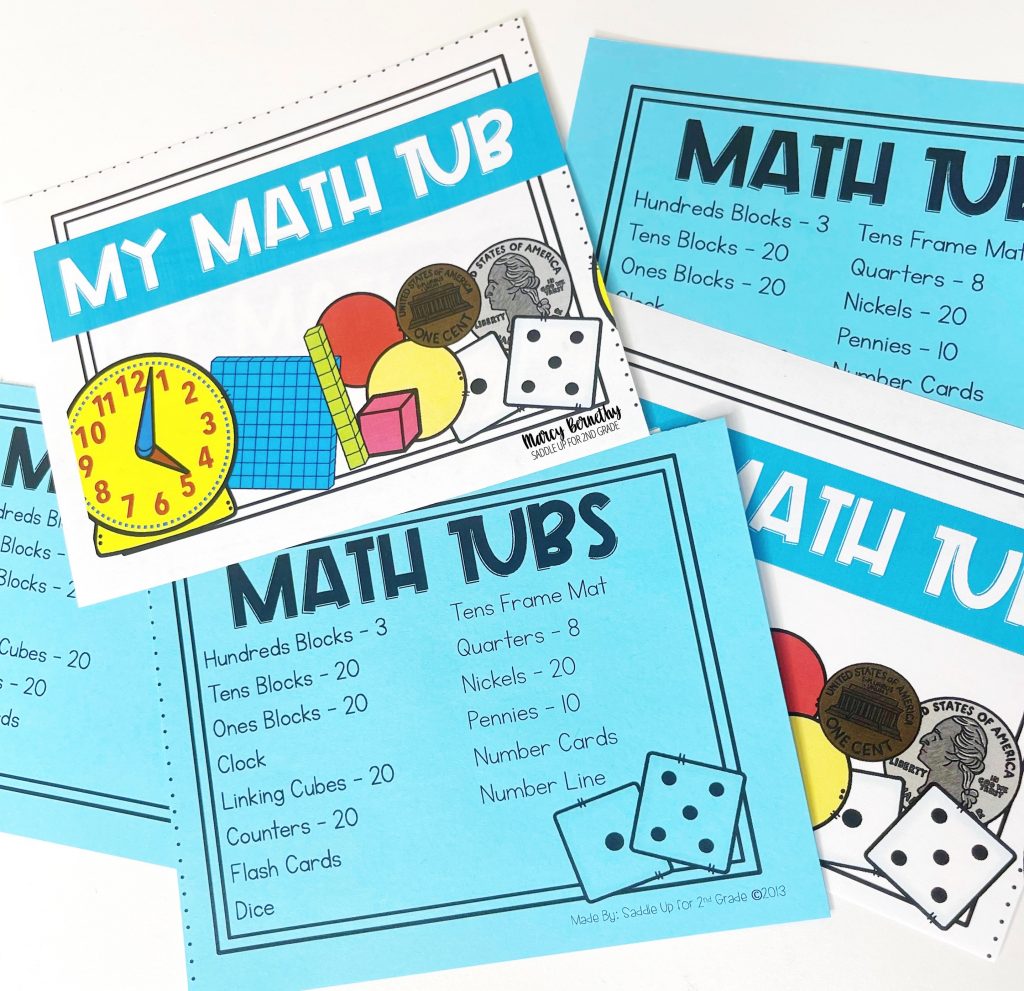
At the beginning of each year, I also spend some time introducing different manipulatives that are found in our math tubs. These math tubs are a game-changer for your math block.
I bought shoebox size plastic containers to make mine. Inside each one, you will find bags of student manipulatives.
What I love about these is that students are 100% in charge of them. The labels that are taped to the inside of the lid show exactly what is in each box and how many of each manipulative they should have.
When it comes time for math, you’ll never have to pre-prep manipulatives again. Everything is already ready to go in their tubs. They just bring them with them to math stations or to the small group table.
You can read more about how I put these math manipulative tubs together and grab a free label here!
Another math procedure you must touch on is how students will turn in their work. I keep track of this in three different ways. First, let me say this: I do not ever grade station work.
Anything that has a paper answer sheet, students keep in their math station folder. At the end of each week, they take the papers inside home.
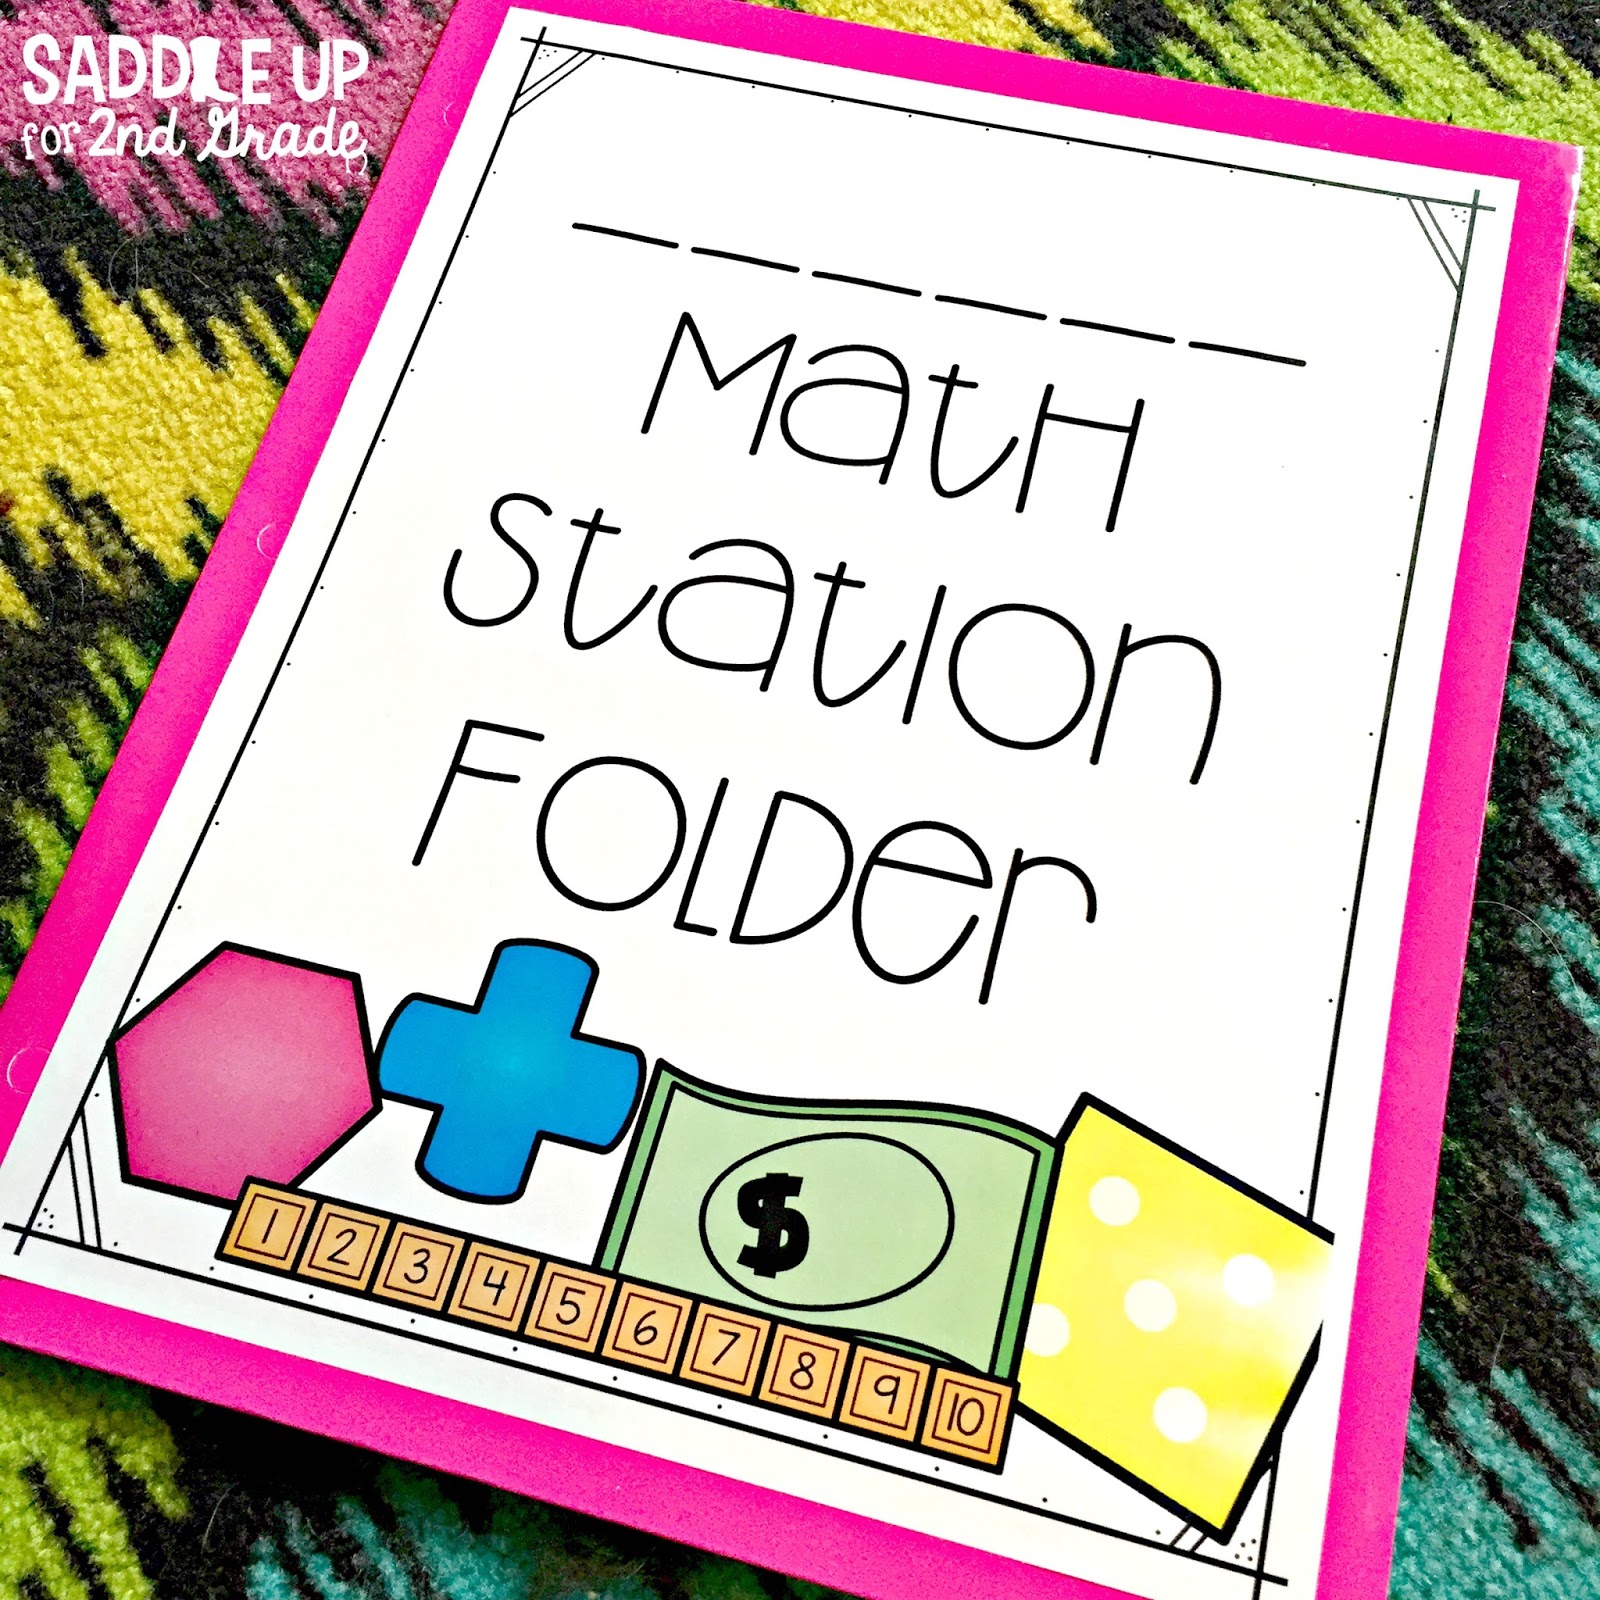
If they finish their work, they move it to the finished work side of the folder. If work doesn’t get finished, they keep it on the unfinished side and can work on it next time or during free time.

Sometimes I just can’t stand keeping up with all of the paper, so I use these plastic sleeves instead. Students just use a dry erase marker to write their answers. You can buy these sleeves off of Amazon and get a pack of 25 for less than $20. You can’t beat that!
Then I would have them bring their activity to me to quickly check or take a photo with our class iPad and I would look over the answers later.
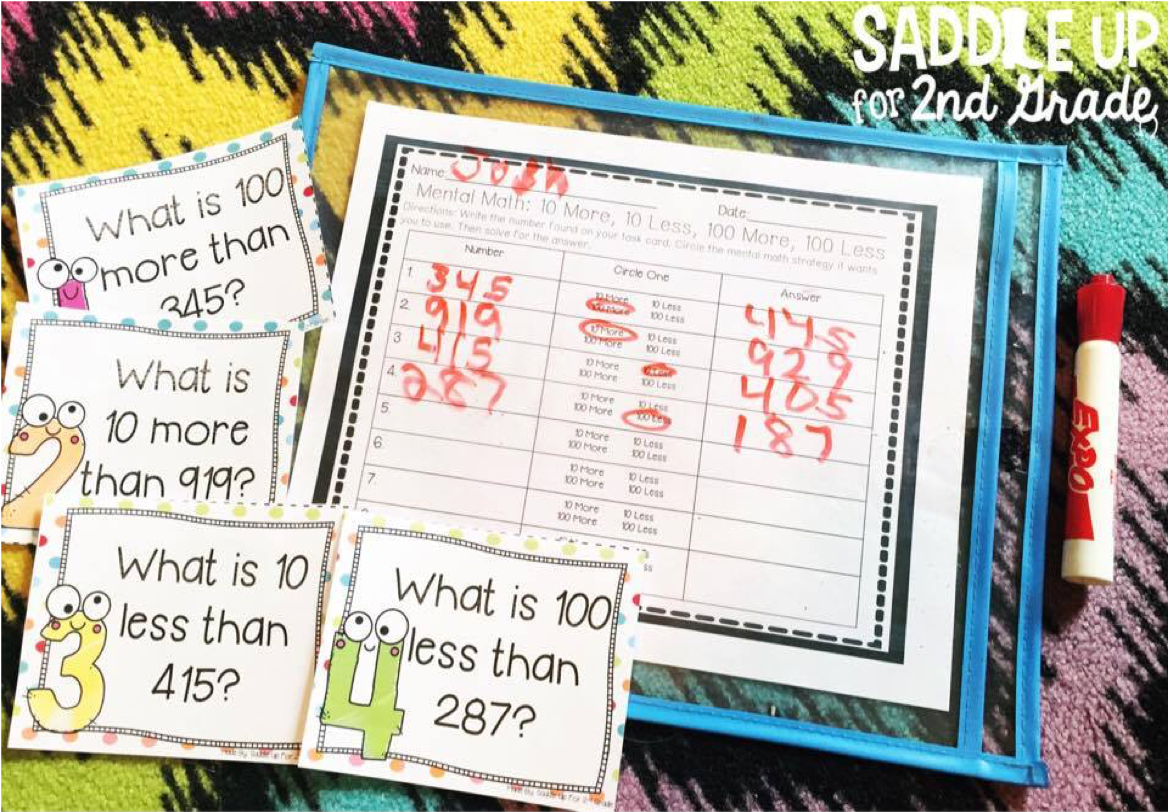
If you really want to go paperless, Seesaw is a great option! If you aren’t familiar with Seesaw, it’s a FREE tool that allows students to have their own online digital portfolio.
Each of your students can have their own profile. They can take photos and upload pictures of their work for you to check.
In my classroom, I had students take a photo of the recording sheet and then they would use a stylus to write their answers. They saved it to their portfolio and then it let me know and I could check it.
You can add comments, “like” something, and engage with their activities in all sorts of ways. Parents can see their work and be involved too. It’s amazing!
If you do not have enough iPads to do this with every station, you can pick one that you really want to monitor their progress with and have them upload their work into Seesaw.
Now that you know which math procedures and routines are essential to establish right away, you can begin modeling and practicing with your students.
Remember: Don’t move on to teaching anything else until these procedures are in place.
I hope this post gave you some great insight on how to get started with guided math in your classroom.
To learn more about establishing guided math procedures, check out my YouTube video below.
Want to get started today? Sign up below to get your FREE GUIDED MATH EBOOK sent straight to your inbox today! Fill out the form below!
Want to save this post for later? Pin the image below.

Math should be fun, not stressful. Ditch the timed math fact tests and replace them with math games that will help your students learn and retain information more effectively.
© Saddle Up for 2nd Grade • Website by KristenDoyle.co


