
Teaching geometry is always one of my favorite math units of the year! There are so many opportunities for hands-on learning. Plus, there are several unique ways to use everyday objects as manipulatives when learning about shapes. Read on to discover some of my go-to manipulatives and tools for geometry.
This post contains affiliate links. You can see my disclosure here.
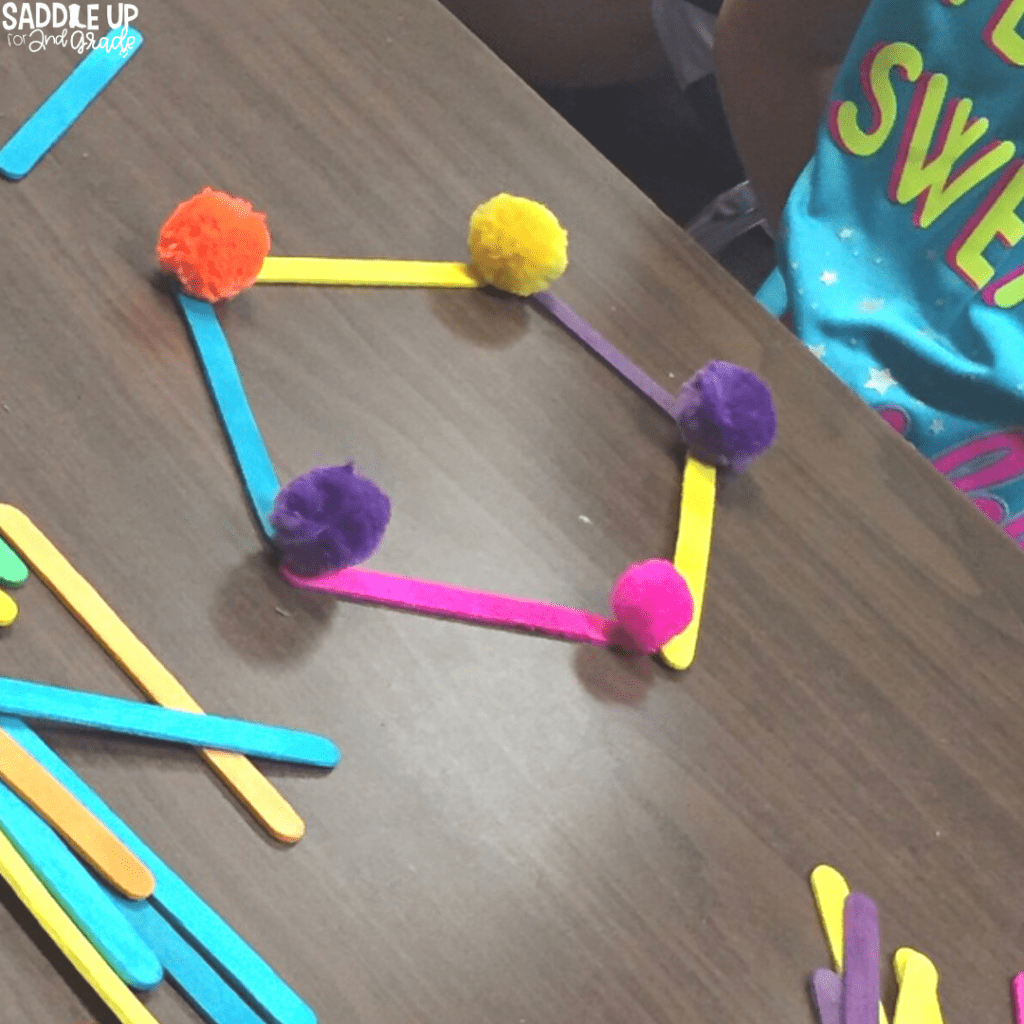
Using popsicle sticks and pom poms as tools for geometry is a great way to use common classroom supplies to introduce and reinforce geometry concepts. This is an effective and fun way to teach students about 2D shapes. By using different colored popsicle sticks and pom poms, students have a great visual aide to help them see the number of sides and vertices of each shape.
You could also incorporate STEM into your geometry lessons by having students use popsicle sticks and pom poms to create different structures made up of 2D shapes.
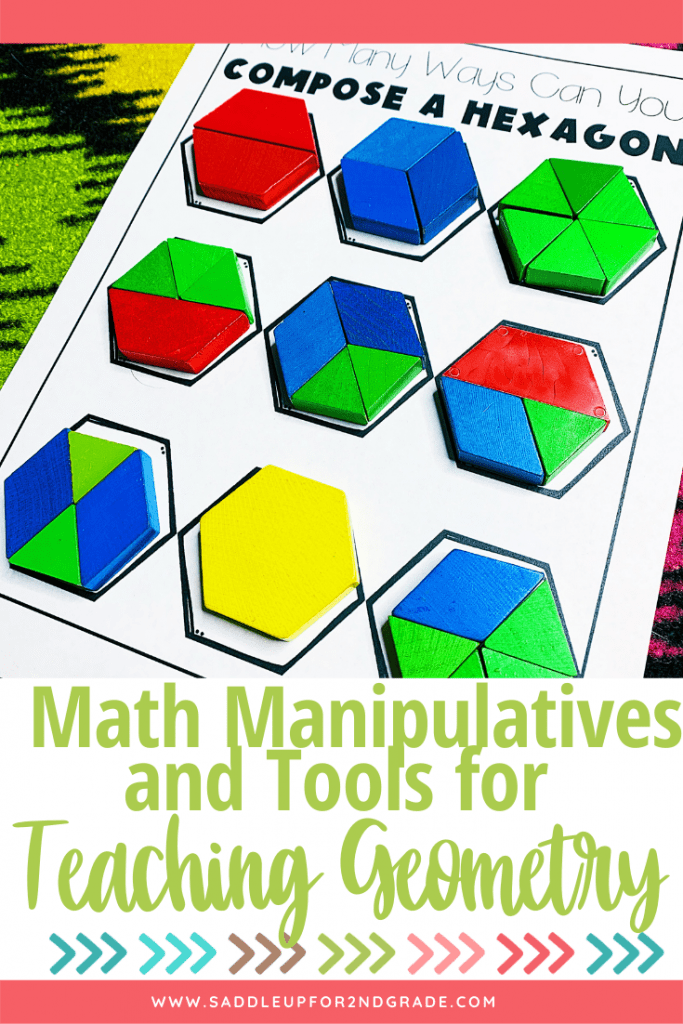
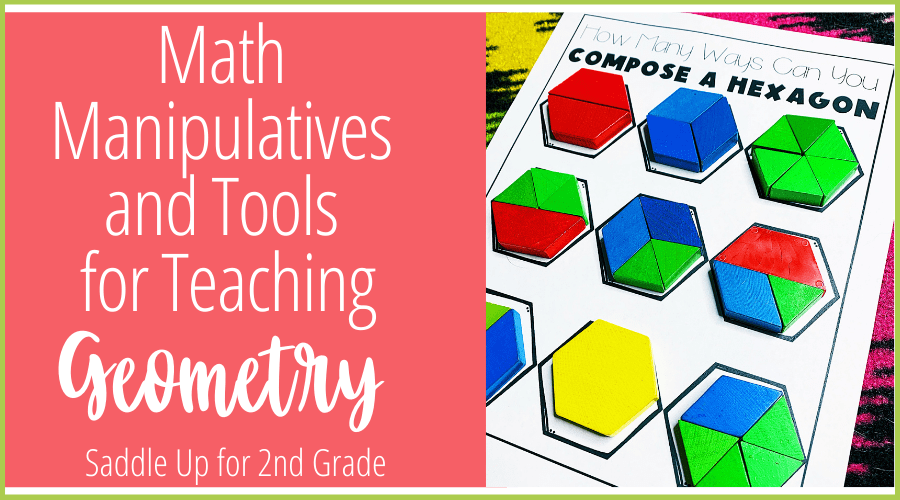
Pattern blocks are another effective tool for geometry. There are so many different ways to use pattern blocks in your geometry math unit. Students can choose a pattern block and identify the shape and tell about its attributes, such as the number of sides, number of vertices, if it has any parallel sides, etc.
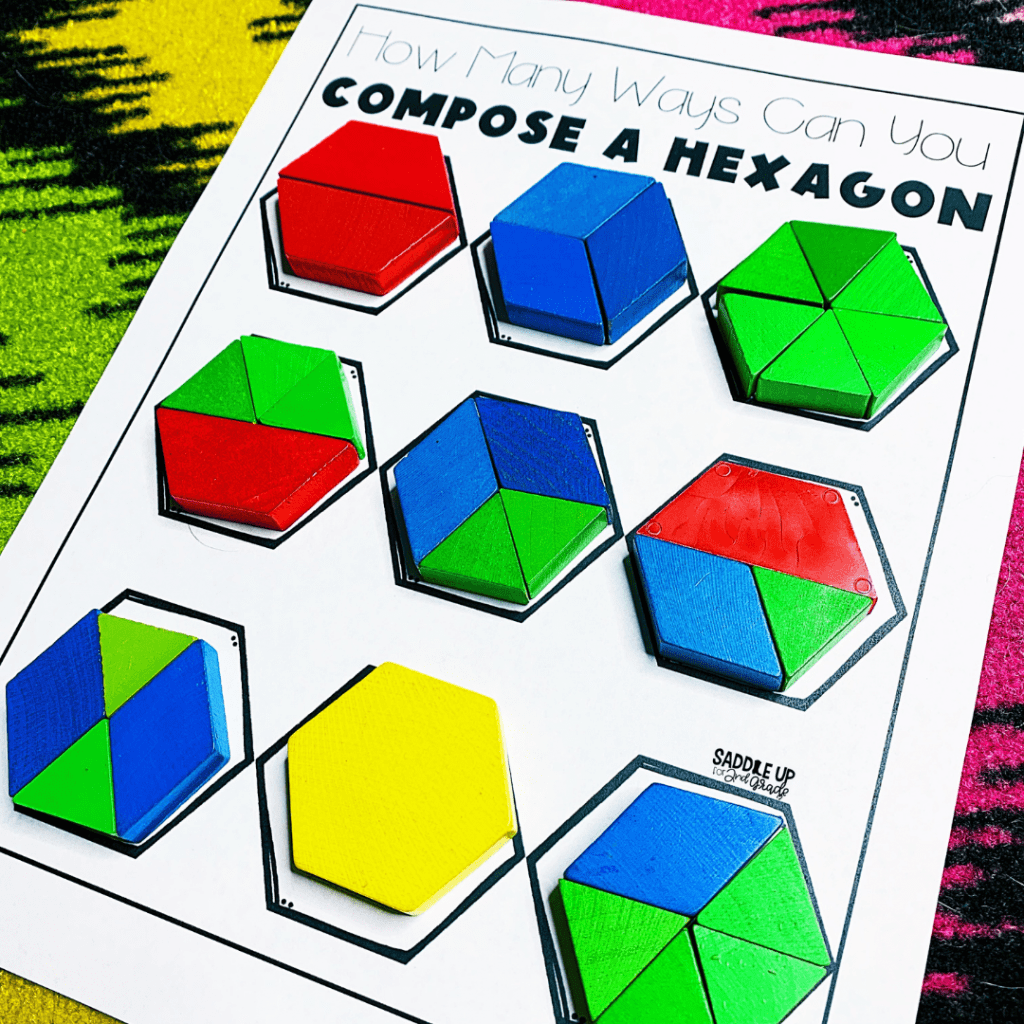
Another way to use pattern blocks in your geometry lessons is to have students compose shapes in a variety of ways using different pattern blocks. This also helps students learn more about decomposing shapes, which will help them in their future learning with fractions.
Pattern blocks are great to add to your small group math lessons or even as a free choice activity for students to build and create with.
Geoboards are a tool for geometry that offers students hands-on learning, problem-solving practice, and the ability to use their creativity while learning about 2D shapes. You can ask students to build shapes with certain attributes, such as a shape with 4 equal sides and 4 vertices. This encourages critical thinking as they determine which shape matches the description.
You can also have students create a shape on their geoboard and tell how many sides and vertices it has. These “Make the Shape” activity cards are included in my Geometry Guided Math Unit as well as an activity called “Build the Shape.”

Exploragons are a manipulative tool for geometry that gives students the opportunity to discover shapes and concepts of geometry in a hands-on way. They come with flexible sticks in different lengths and colors, allowing students to easily connect the sticks together to create different polygons and angles. Polygons are flat, 2D closed shapes with straight sides.
Protractors are also included in this set so students can connect the protractor to their creation and measure the angles.
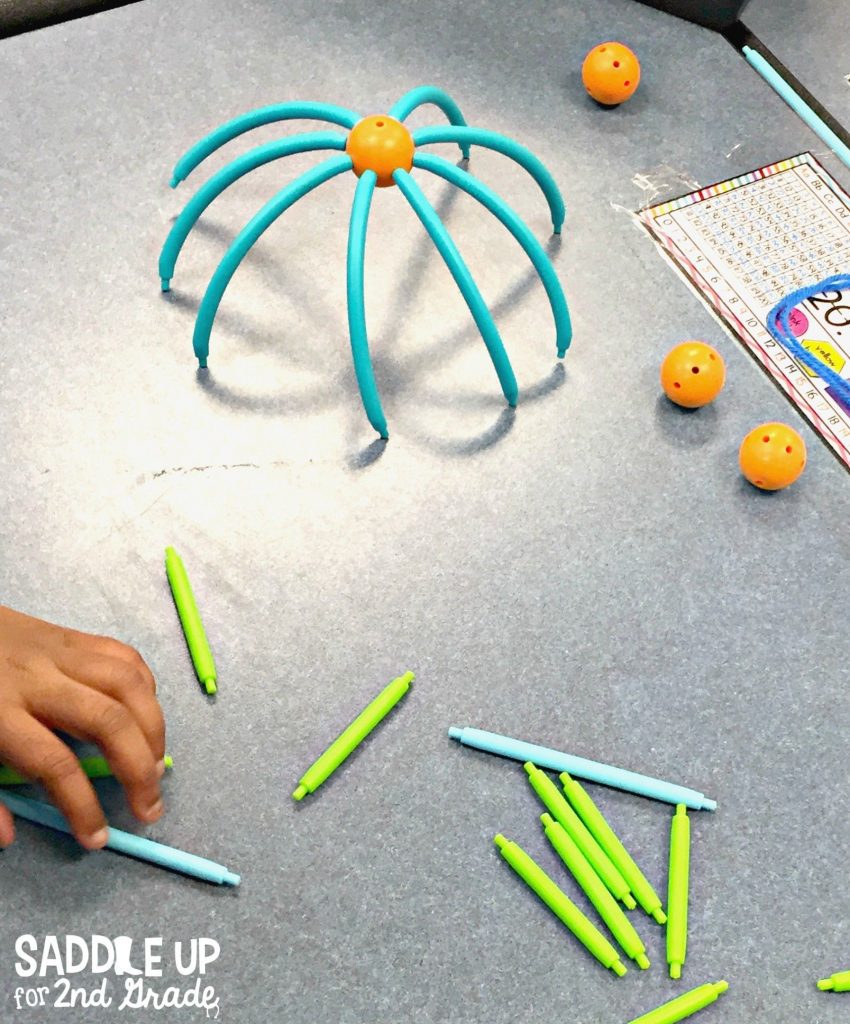
This geometric shapes building set is a great way for students to discover and work with various 2D and 3D shapes. Students can compose shapes, identify attributes, and work on beginning fraction skills as they partition circles and squares into equal parts.
This geometric shapes building set is perfect for introducing and discussing 3D shapes as students can create multi-dimensional shapes with the sticks, curves, and connecting pieces. Add these to your 3D shape geometry lessons to keep your students engaged and having fun while learning.
3D solids are one of my go-to tools for geometry. You can add them to any geometry lesson about 3D shapes to give students a visual element and hands-on model. 3D solids help students physically experiment to learn about 3D shapes that stack, roll, and stack and roll.
Students can sort 3D solids based on these attributes and discover other attributes, such as the number of faces, edges, and vertices. They can also build structures using 3D solids and answer questions about the different shapes included in their structure.
You can use real-world 3D solids and colorful 3D solids to give students 2 different visual aides and help them connect their learning to objects they’re familiar with. It’s highly effective to use both types of 3D solids during your introducing 3D shapes lesson with a 3D shape anchor chart and student interactive journal activity.
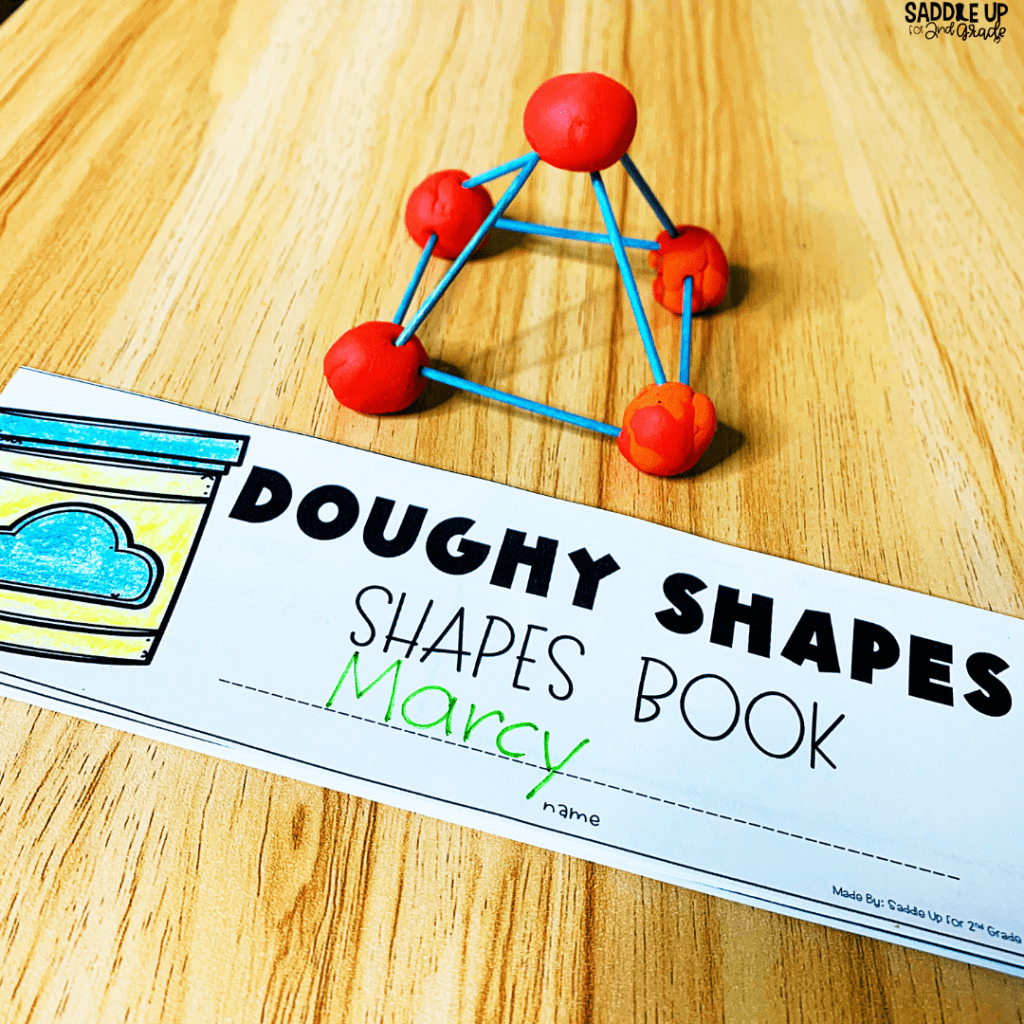
I love getting creative with common supplies such as toothpicks and play-doh to use as tools for geometry. Students enjoy building and creating 2D and 3D shapes using colorful play-doh and toothpicks.
Have students make small balls of play-doh to use as the shape’s vertices and use the toothpicks as the sides of the shapes. Play-doh holds the shapes together much better than using marshmallows as the vertices.
Students can turn and talk to a friend to describe their shape, which encourages mathematical discussion and vocabulary. Students can compose 3D shapes and describe their attributes in this “Doughy Shapes Book” activity in my Geometry Activities for 2D and 3D Shapes Guided Math Unit.
MagnaTiles are a total hit with students, not only for free play time, but also during your geometry lessons. Students can compose a variety of 2D and 3D shapes using MagnaTiles.
As they connect the MagnaTiles using the magnets on the sides of the shapes, they’ll learn more about shape attributes and the difference between 2D and 3D shapes. As they build, ask students to identify which 2D shapes they used to create 3D shapes. You can also ask them to count how many triangles, squares, etc., they see inside their 3D shape.
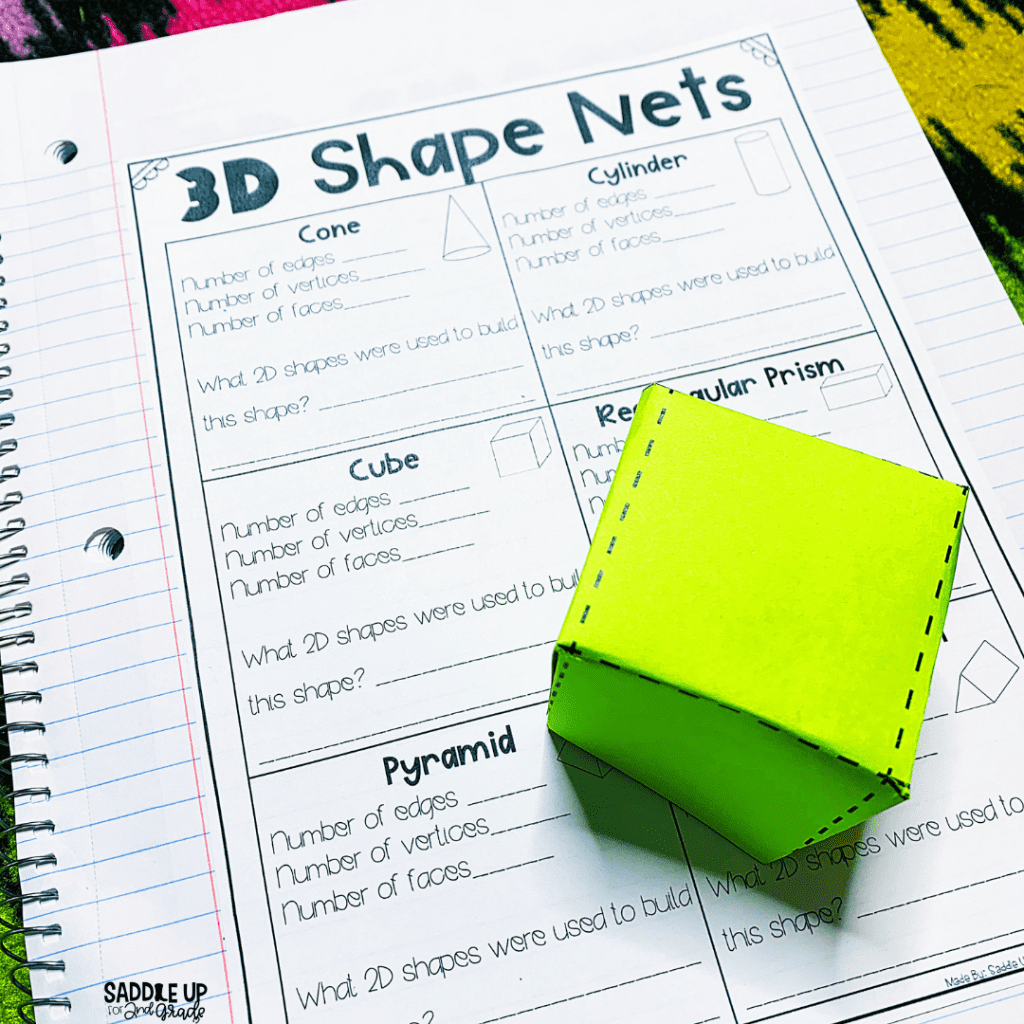
3D shape nets help students create 3D shapes while learning more about their structures with the fold up net. This provides an important visual aide to help students understand the number of edges, vertices, faces, and 2D shapes found in the 3D shape.
You can find this “3D Shape Nets” activity along with a printable 3D shape net in my Geometry Guided Math Unit. These printable 3D shape nets are also useful during whole group discussions, small group activities, or as a model during independent work.
Need more ideas for your geometry lessons? Check out this 10 Books for Teaching 2D and 3D Shapes blog post.
Pin the image below to save this post for later!