Interactive notebooks are a topic that comes up frequently in my conversations with teachers and in my Saddle Up For 2nd Grade Teachers Facebook Group.
I hear so often that teachers want to implement interactive notebooks in their classroom. However, they are often unsure of exactly what an interactive notebook is, why they’re effective, and how to get started using them.
Today, I’m going to break this all down for you in part 1 of my 3-part interactive notebook blog series.
This post contains affiliate links. You can see my disclosure here.
When it comes to defining interactive notebooks, I think it’s important to understand what interactive notebooks are AND are not.
Let’s first understand that interactive notebooks are NOT just flip-flaps, paper scraps, and a way to fill time.
They are much more effective than that!
Interactive notebooks allow students to express their creativity and take notes in a way that works best for their brain.
For example, some students retain information better by writing in word form. Other students retain information best with pictures or models drawn out.
Interactive notebooks give students the power to organize their notes and thoughts in the way that works best for their learning style. They are a great way for students to practice the concepts they have just learned by applying them in their notebook.
All of my guided math units include interactive notebook activities to help students apply the mathematical concept being taught.
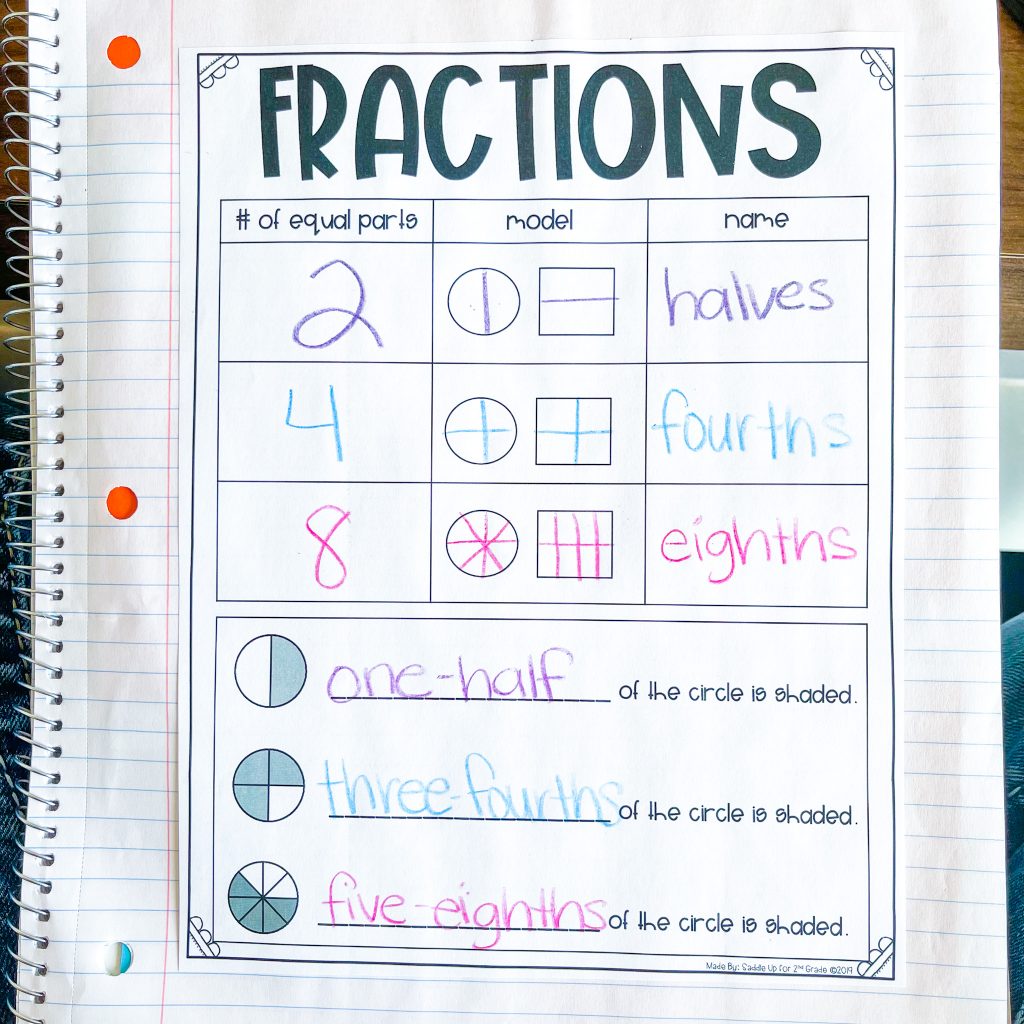
This is especially important at the beginning of the unit when breaking down the concept on a whole group anchor chart, like in the example from my Fraction Unit below.
After filling out the chart, students are then directed to complete their own student version in their notebook.
Now that you know what interactive notebooks are (and are not), let’s talk about why they are so important.
First of all, they are engaging and fun for students. They give students a more hands-on way to work with concepts in a paper-pencil way than just a plain worksheet.
Since students are using their creativity at the same time, it is more enjoyable and can help students make connections with the concepts.
Another reason they are so important is that students can keep all of their notes and activities in one notebook throughout the year. This serves as a great reference tool for spiral review and to look back on throughout the year.
Interactive notebooks also show student growth throughout the year and can be a valuable formative assessment tool.
As you flip through the pages, you’ll be able to see the improvements your students have made, how much neater their work has become, and how much more they understand the concepts being taught.
These are excellent to pull out during parent-teacher conferences to show parents and to support your discussion.

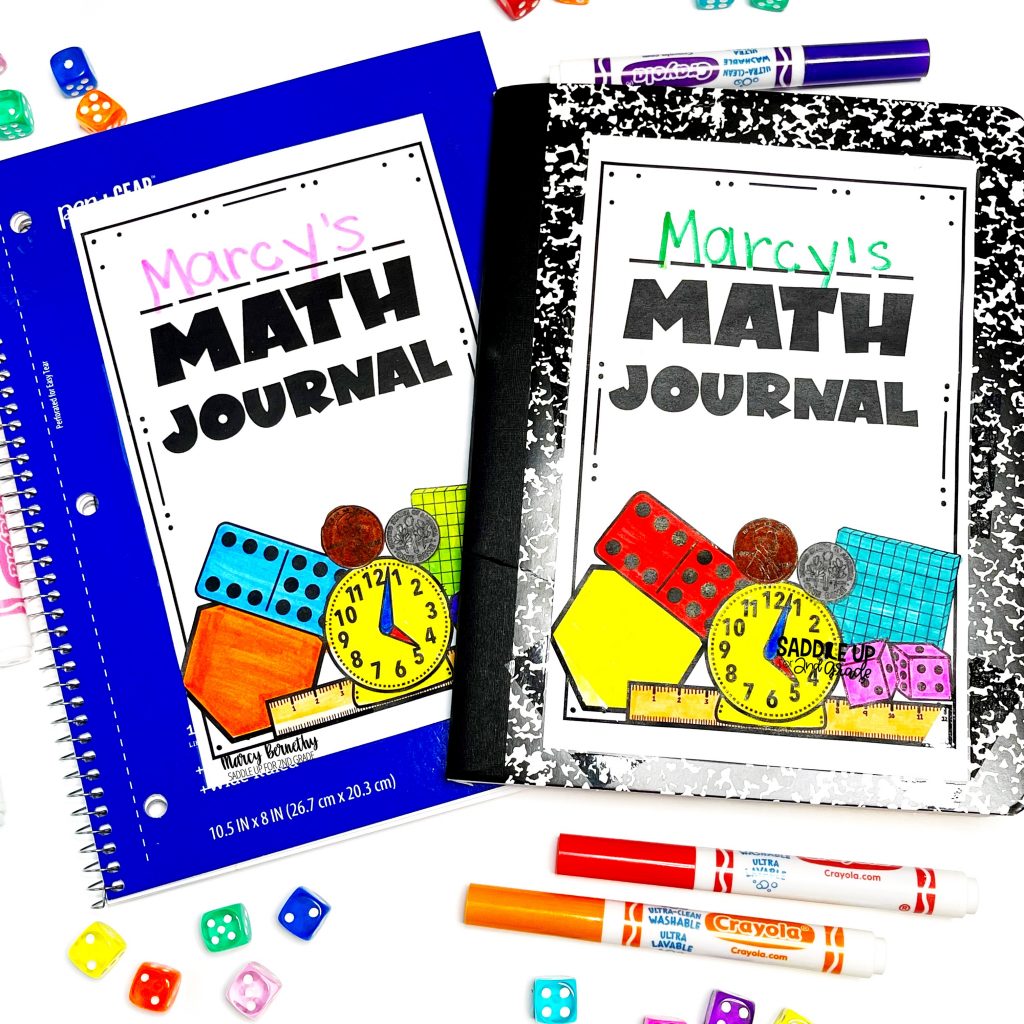
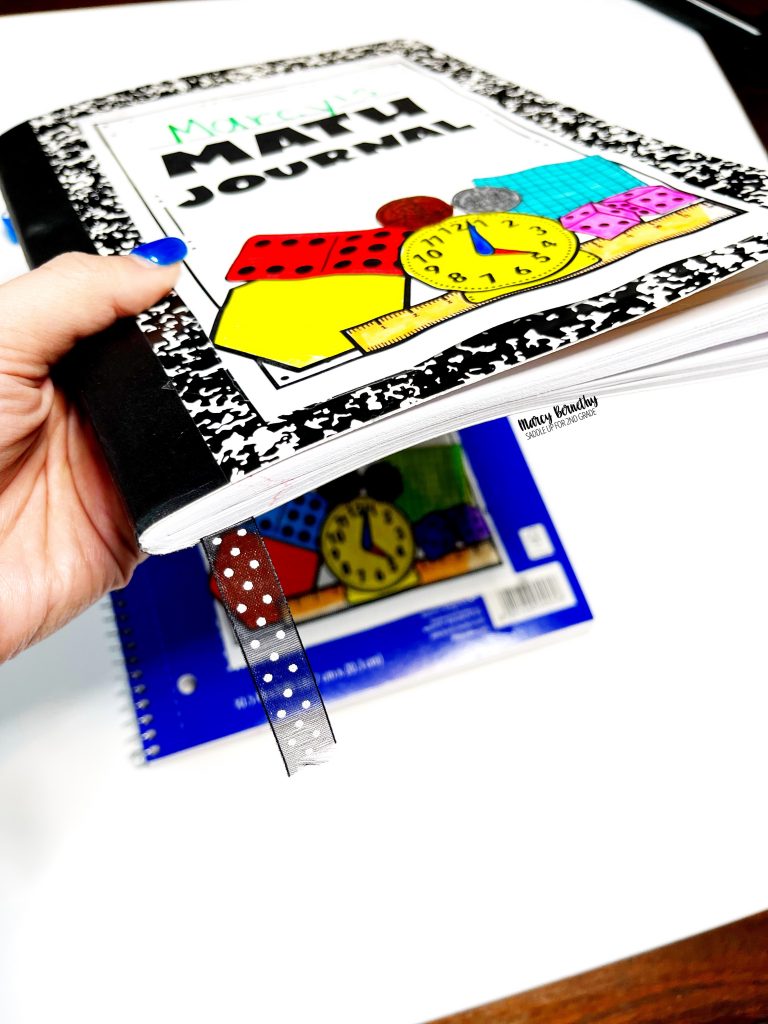
The great thing about interactive notebooks is you can truly make them as simple or extravagant as you want. You can also alter the supplies you use based on your students’ needs and developmental level.

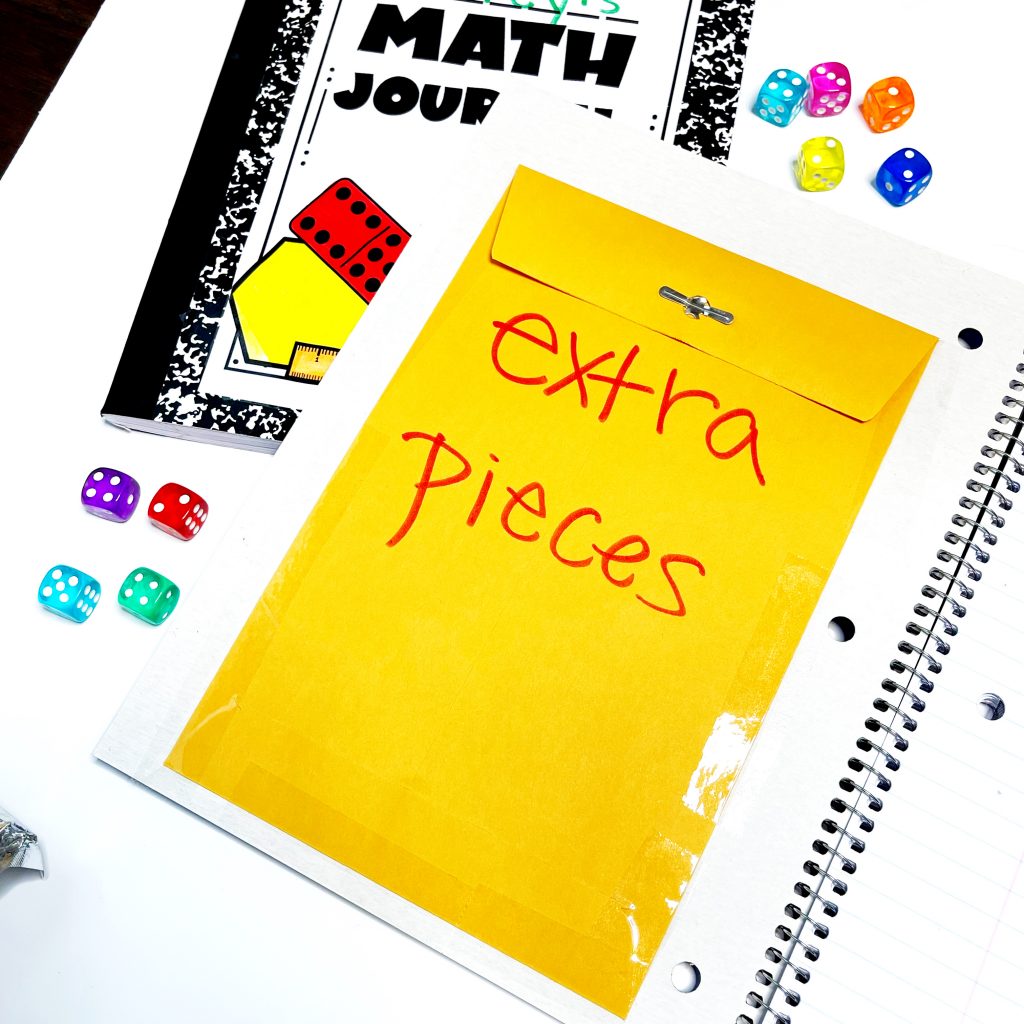
Setting up your interactive notebooks doesn’t have to be super time-consuming. If you and your teaching team are implementing them together, you can get together after school or during your planning time and prep them pretty quickly together.
If you have parent volunteers that are willing to help, they can also help prep the notebooks.
There are so many ideas for math journals that can be used with your students. They are not just cute flip flap activities. They are a way for students to show what they’ve learned about a particular concept or skill. I’ve shared 5 simple math journal ideas that can benefit your students.
I hope this post has helped you feel more confident in getting started with interactive notebooks!
You can check out my YouTube video all about getting started with interactive notebooks to break this down even further.
In the next post in this series, I’ll be sharing tips and tricks for interactive notebook organization and procedures to teach your students.
Feel free to pin the image below to come back to this post later!