
One classroom tool that I cannot teach without is anchor charts. If you’ve followed me for a while or used any of my resources, you know this! I use them for everything across all subject areas. I often hear from teachers that they stray away from using anchor charts in the classroom because they take too much time to create, they feel like they have to be Pinterest-worthy, or they get overwhelmed just thinking about them. But anchor charts don’t have to be complicated! Read on to learn some simple tips for getting started with anchor charts the easy way!
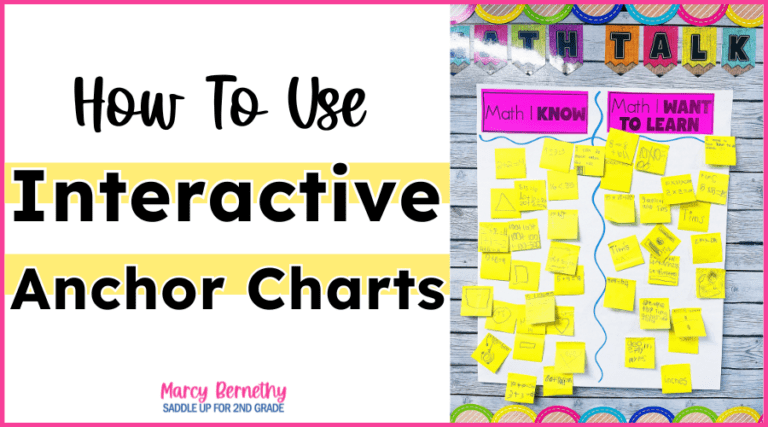
Be sure to check out part 2 of my anchor chart blog series: How To Use Interactive Anchor Charts!
This post contains affiliate links. You can see my disclosure here.
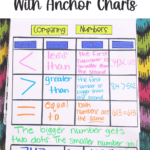
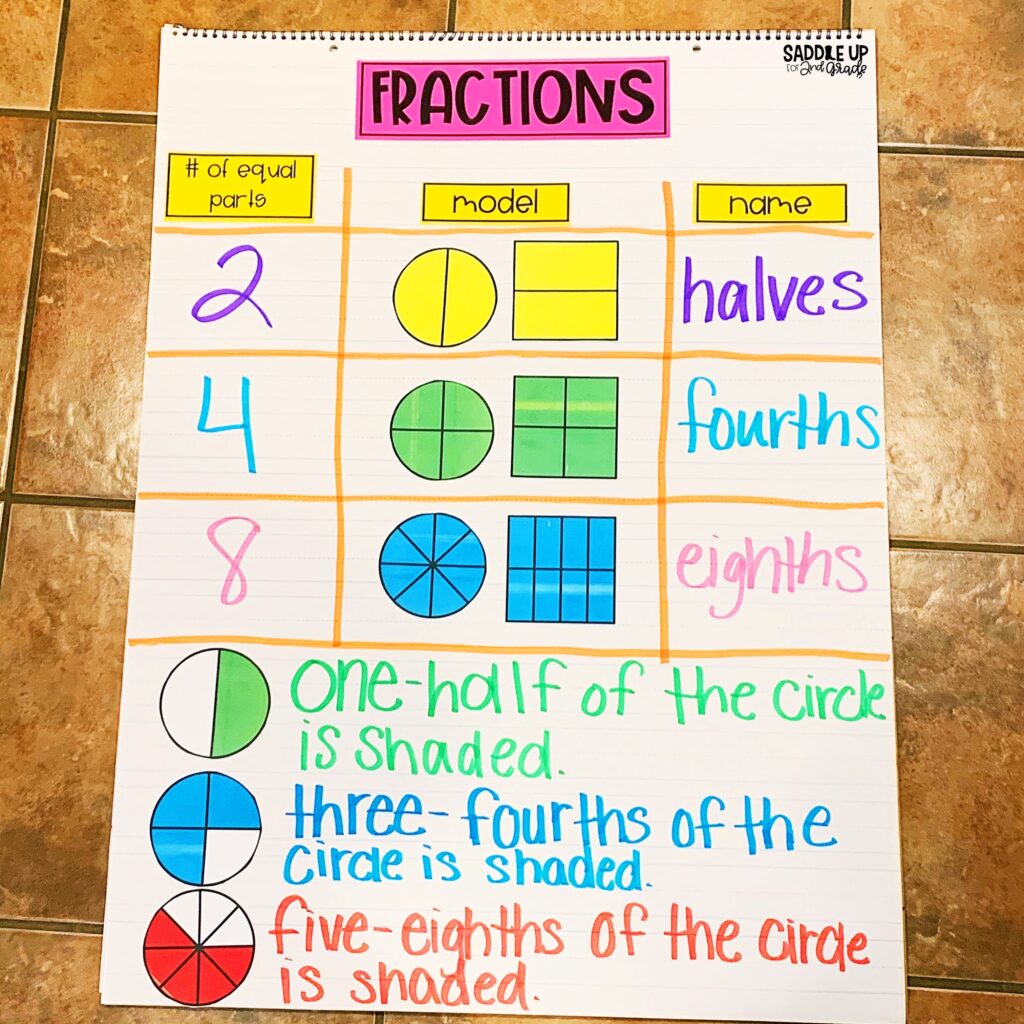
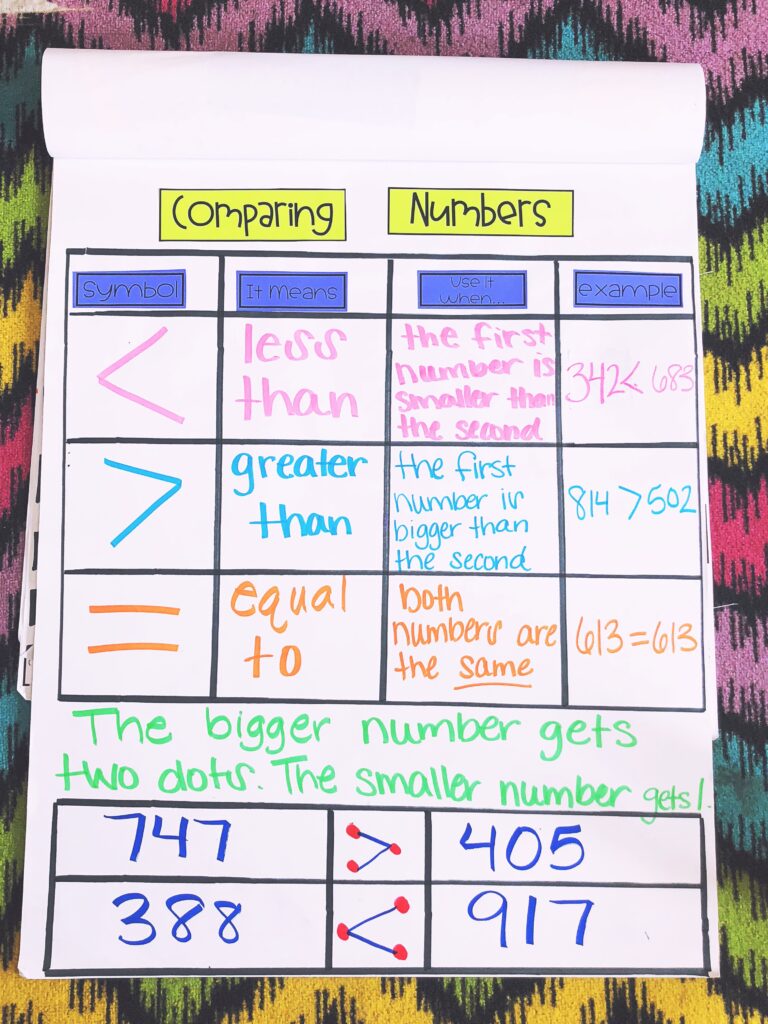
Anchor charts are large posters created during a lesson to use as a visual tool to highlight key information from a concept, skill, or lesson being taught. They contain text and pictures to help students retain the information we want them to learn.
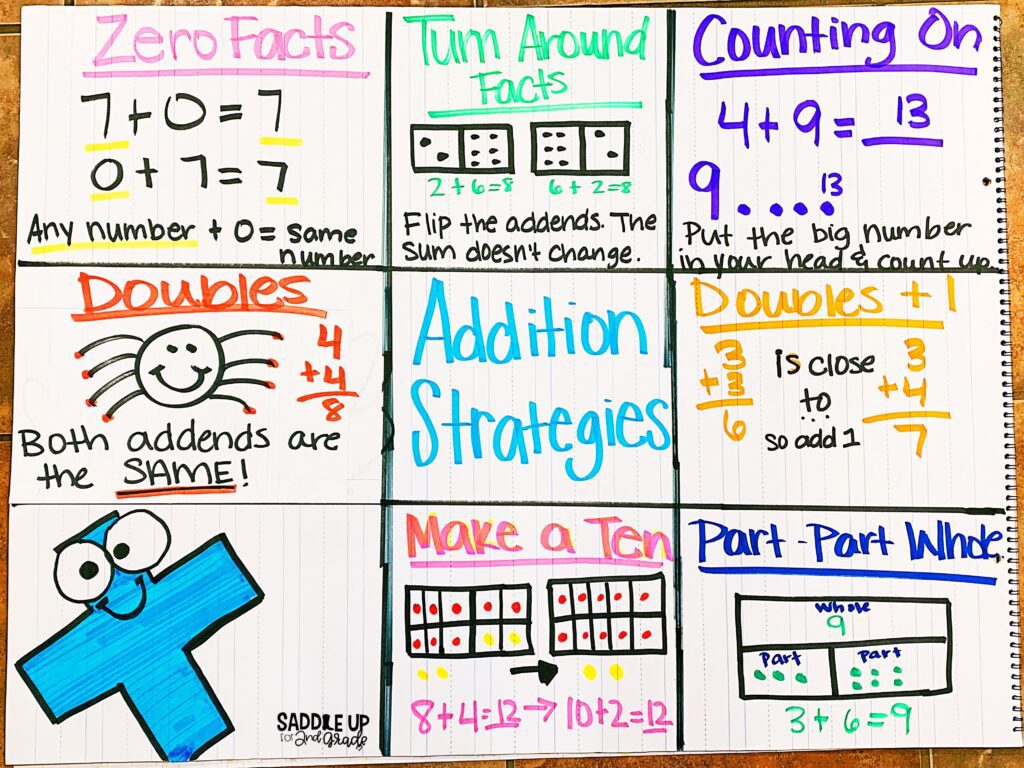
Anchor charts can be used to show strategies, vocabulary, and procedures. They can also be interactive, which allows students to add information to the chart that is being created as they dive into a concept.
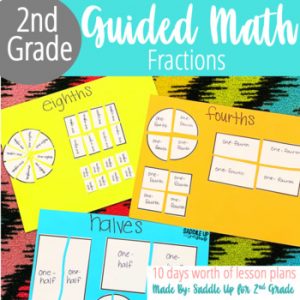
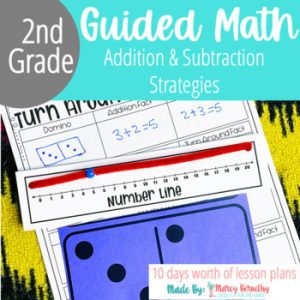
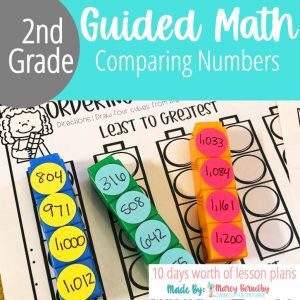
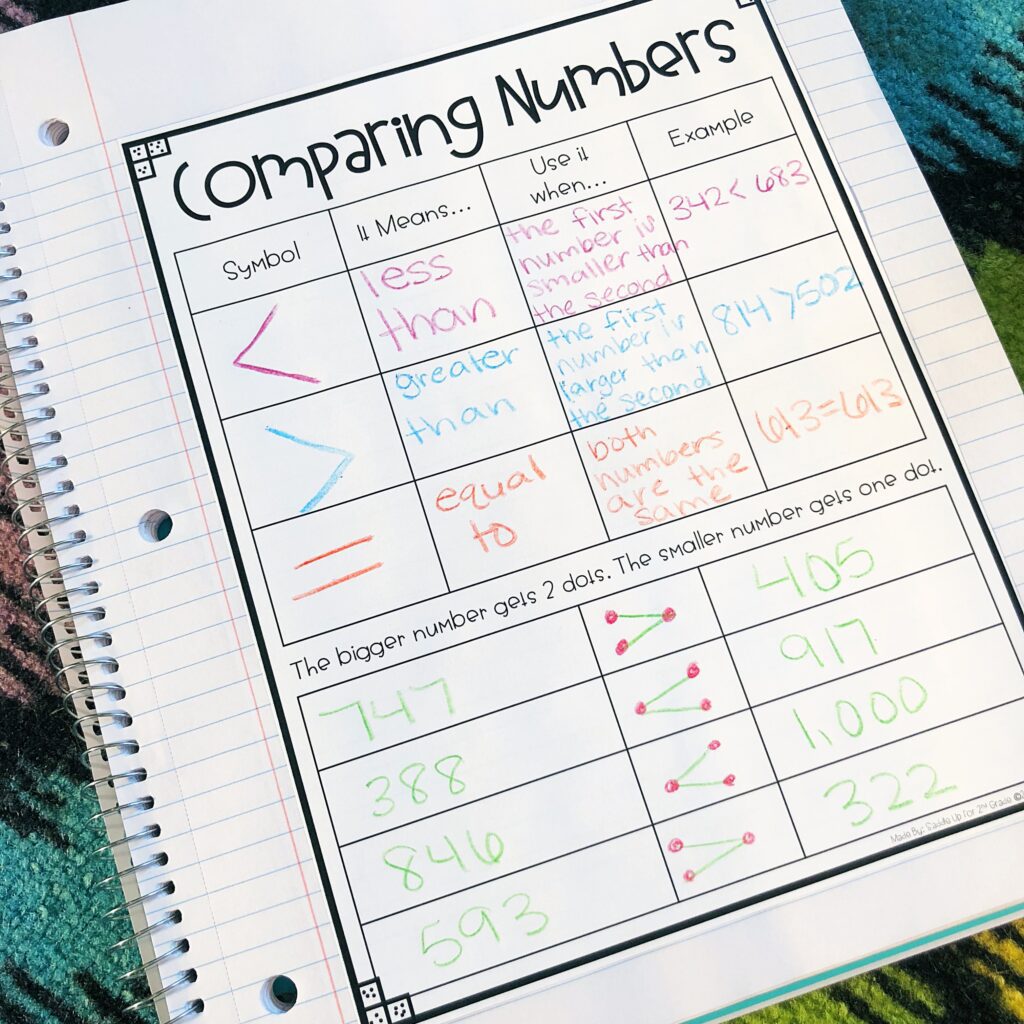
I love involving my students in the anchor chart creation process. They have so much fun with it and retain more when they have a hand in creating it. All of my guided math units come with anchor chart templates as well as mini versions for students to put in their interactive notebooks.
There are many benefits of anchor charts, as they serve as a powerful visual aid that can support our learners in so many ways. Plus, they are a great tool for differentiation so you can better reach ALL students.
Anchor charts help make abstract concepts more concrete by providing a visual representation that students can refer back to when needed.
They also promote student engagement and allow them to make connections to what they are learning. Anchor charts should be created together as a class. It’s ok to create the outline ahead of time, but all the key information should be added together as a class. When we can involve our students in the anchor chart creation process, it helps foster a sense of ownership and helps them make connections to the concept they are learning. It makes the learning process more active, not just passive.
Anchor charts provide a reference point for students to look back on when needed, which is one of the best benefits of anchor charts. As I mentioned, all of my guided math units begin by creating an anchor chart together to introduce the new unit.
Whole group anchor chart templates are included in each unit as well as a student version. As we create our main chart together, they can create one for their journals to look back on throughout the unit during independent practice or math stations (or even the year during spiral review!).

Getting started with creating anchor charts doesn’t have to be overwhelming. Keep reading for the exact materials and step-by-step instructions you need to start using anchor charts in the classroom!
Want to see this in action? Check out my YouTube video below!
If anchor charts seem overwhelming, I’ve got good news! You only need 4 simple materials to get started (and you likely have most or all of them!). Read on to learn exactly how to create an anchor chart!
First, you’re going to need an anchor chart pad. There are lots of options out there from blank paper, to lined paper, and grid paper. I love the sticky easel pads from Post It, because they have sticky on the back, so I can stick them to any surface in my classroom! They have a blank and lined option, but they can be pricey. An affordable alternative is the School Smart Chart tablet, which comes on a coil ring and has both lined and blank options. Pacon also has an affordable lined option. If you choose an option without a sticky back, you can also use a magnetic curtain rod and binder rings to display them on your whiteboard.
I personally feel like the Post-It easel pads have thicker paper, but all are great classroom options.
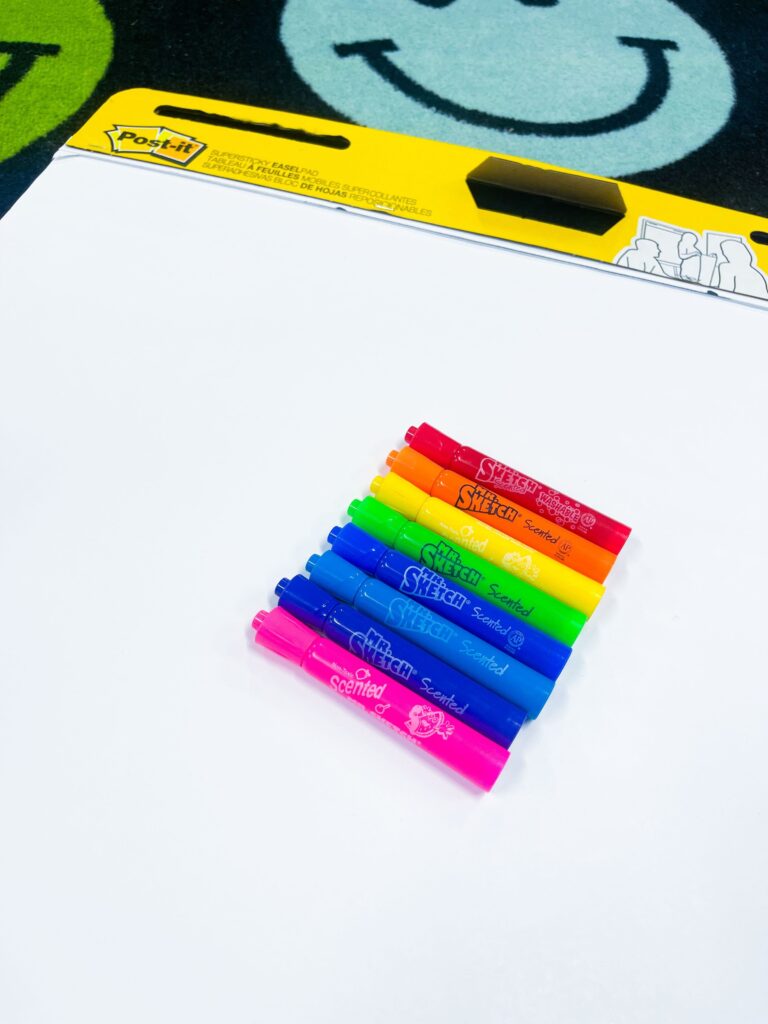
This is my favorite part… choosing anchor chart markers! Mr. Sketch and Sharpie Flip Chart markers are great options. Mr. Sketch markers have a chisel tip (and they smell good!). Sharpie Flip Chart markers are vibrant and have a bullet tip. You can’t go wrong with either one. Of course, Crayola markers work just as well too.
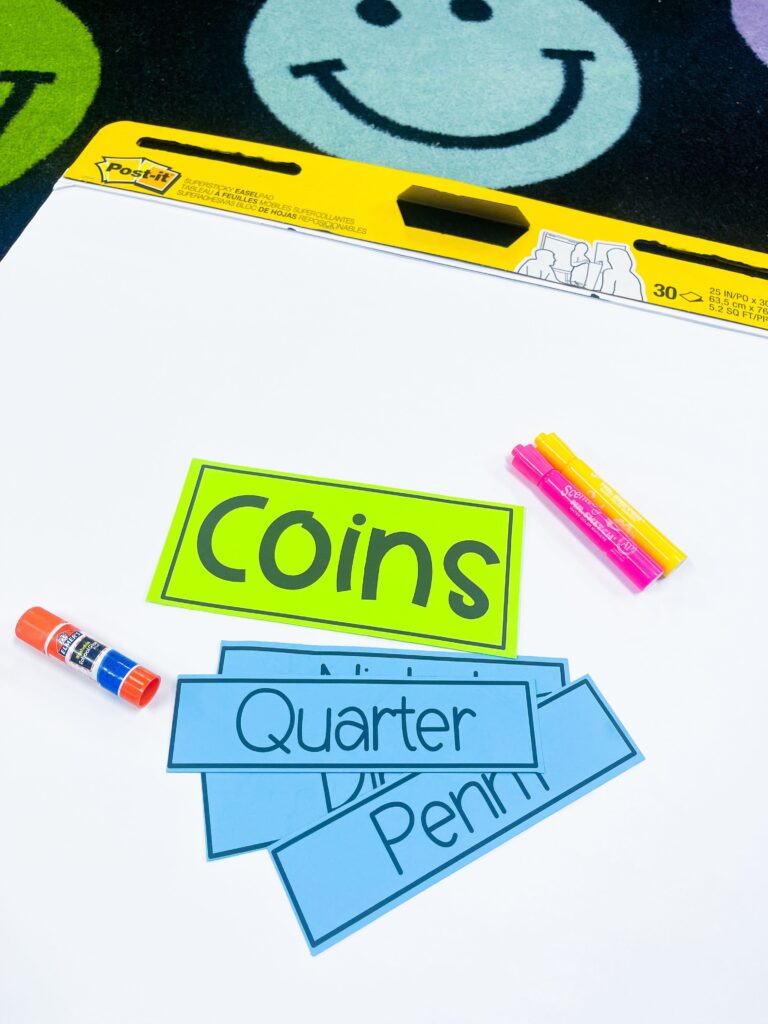
If you’re like me and like to use premade titles and headings for your anchor charts, I use bright Astrobrights paper to help different parts of the chart stand out. This helps draw attention to key concepts or pieces of information. If you want to reuse these pieces year-after-year, laminate the titles and headings so they hold up nicely.
I cannot tell you how many times I just started writing something with a marker and I write the text way too big or slanted, and have to start over!
You’ll also need glue sticks to glue the premade pieces to your anchor chart. I would steer clear of bottled glue, as it takes longer to dry and can be messy.
Once you have your materials collected, you’re ready to get started creating your anchor charts!
Here’s a quick anchor chart material breakdown:
When creating an anchor chart for the classroom, it’s important to start with a clear focus. Don’t just start throwing random bits of information on an anchor chart. Make it meaningful!
Anchor charts can be used to display strategies, vocabulary words, and procedures to name a few. Decide what you want your chart to focus on FIRST and go from there.
Next, it’s time to decide what information your anchor chart will include. Remember, ALL anchor charts should be student-focused and the information added to them should be done together as a class.
Decide what information needs to be added beforehand (think… the title, headings, pictures, and what information will be added during your lesson).
Will the anchor chart include pictures for reference, or will it be text only?
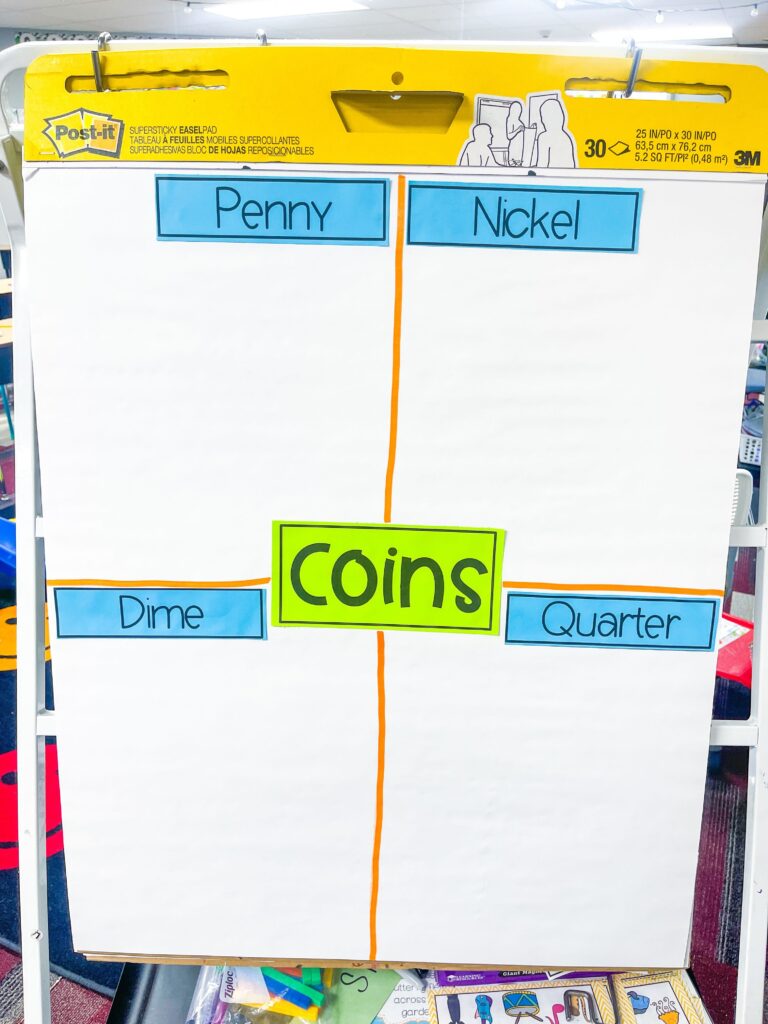
Once you know what information you want to include, it’s time to create your anchor chart outline. This includes adding titles and headings and outlining the page if needed.
These are simple things you can do quickly prior to the lesson that will save you so much time during your instruction.
Write out your titles and headings (or use pre-printed ones). If you don’t love your handwriting or struggle to write in a straight line like me, this is a lifesaver!
If you want to go all out, you can add a fun border to your anchor chart. This isn’t necessary, but it adds some color and fun.
As I mentioned before, students should be involved in the anchor chart process. This includes CREATING it! This can be done a few different ways.
You as the teacher can fill out the chart as you’re explaining the lesson concept. As you introduce a topic, add details to the chart for kids to reference.
Another way to do this is for students to provide you with details to add to the chart. Record what your students say directly onto the anchor chart.
A third way to do this is to have your students add details to the chart themselves. This can be done using sticky notes, index cards, or writing directly on the chart.
The key here is to involve your students in the process. You are helping them make a connection to what they are learning, and that will benefit them throughout the entire unit!
Once your anchor chart is created, don’t just toss it in the trash. You worked too hard for that!
Utilize it! Reference it! Display it somewhere that your students can see it and refer to it often. Anchor charts are powerful teaching tools, so instead of looking at them as a “fun filler activity” or something that you only keep up for a day, look at this as a necessary teaching and learning tool that is always present in your classroom!
After our anchor charts are created, I move them to a designated bulletin board space in my classroom. If you’re creating multiple anchor charts for different subjects, hang them on the appropriate bulletin board or in the appropriate area of your classroom.
I like to make sure my students can see it when they’re at math centers or doing independent work, as it can serve as a reference point for them to problem-solve before coming to me at the small group table.
I hope this post has helped you understand the benefits of anchor charts and shown you just how simple it can be to start creating and using them in your classroom!
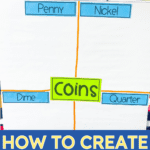
You can grab the anchor chart templates shown in this blog post in my website store below!
In part 2 in this series, I’m sharing how to use interactive anchor charts and sharing 5 anchor chart examples that you can implement in your classroom right away!
If you have specific questions, leave me a comment below!